Goose Gear

"Lola" - WreckDiver1321's 2005 Nismo Build and Adventure Thread

WreckDiver1321

Adventurist
"Lola" - WreckDiver1321's 2005 Nismo Build and Adventure Thread

Well, I figure it's time to start a build thread over here as well!

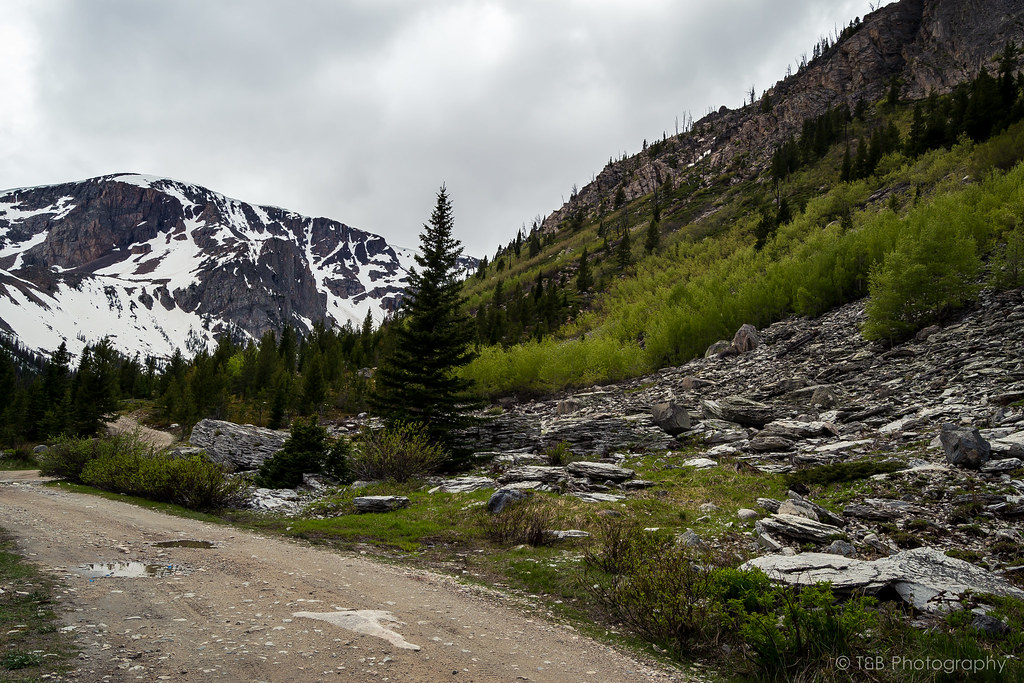
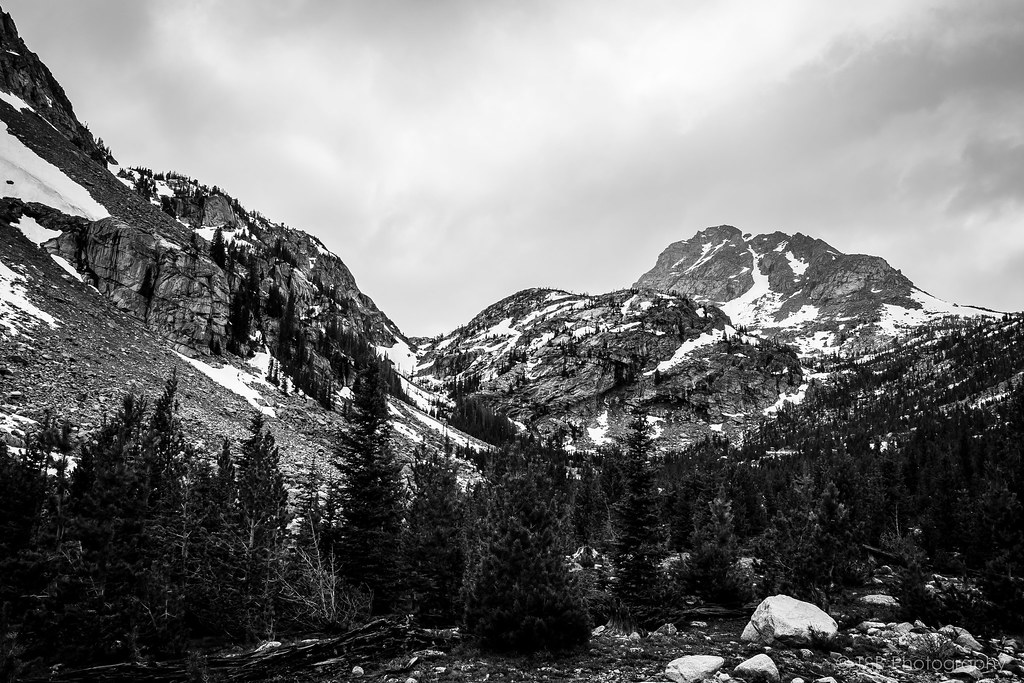
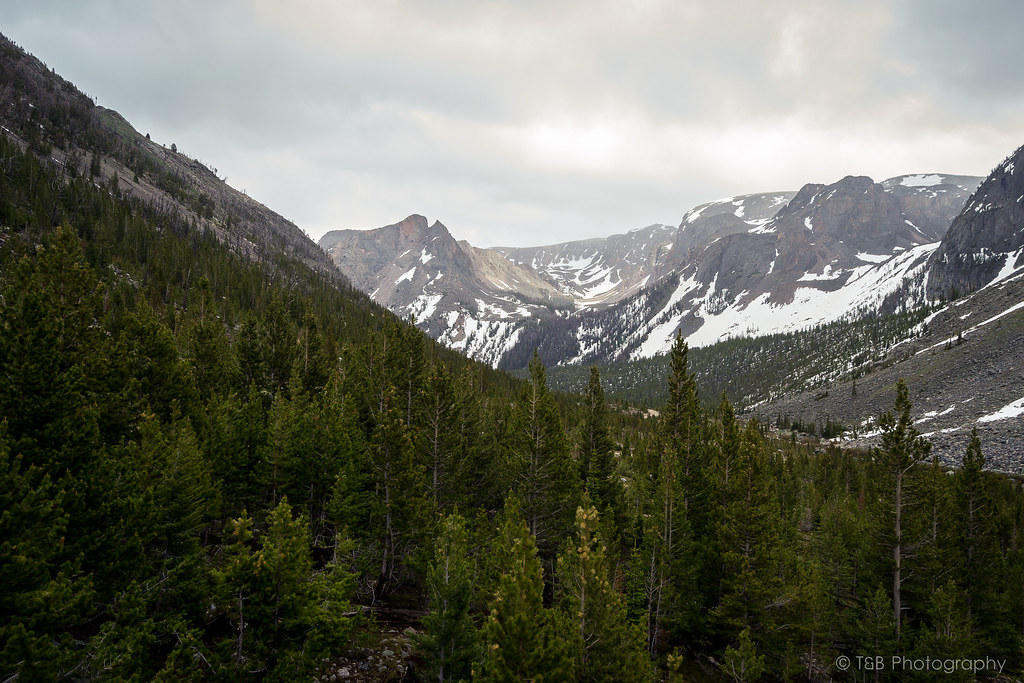
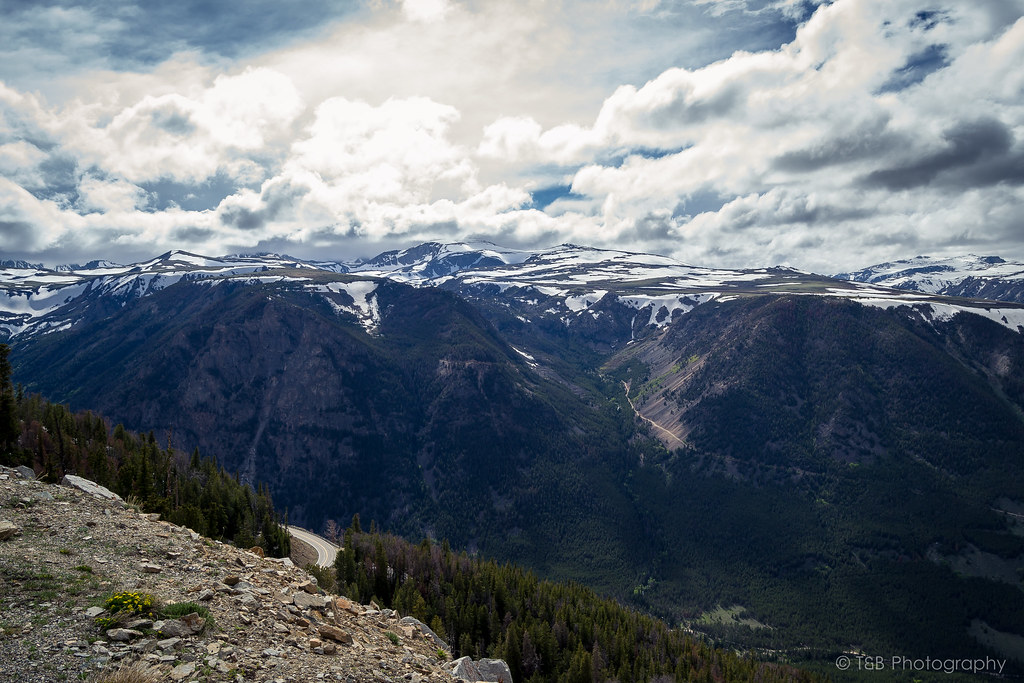
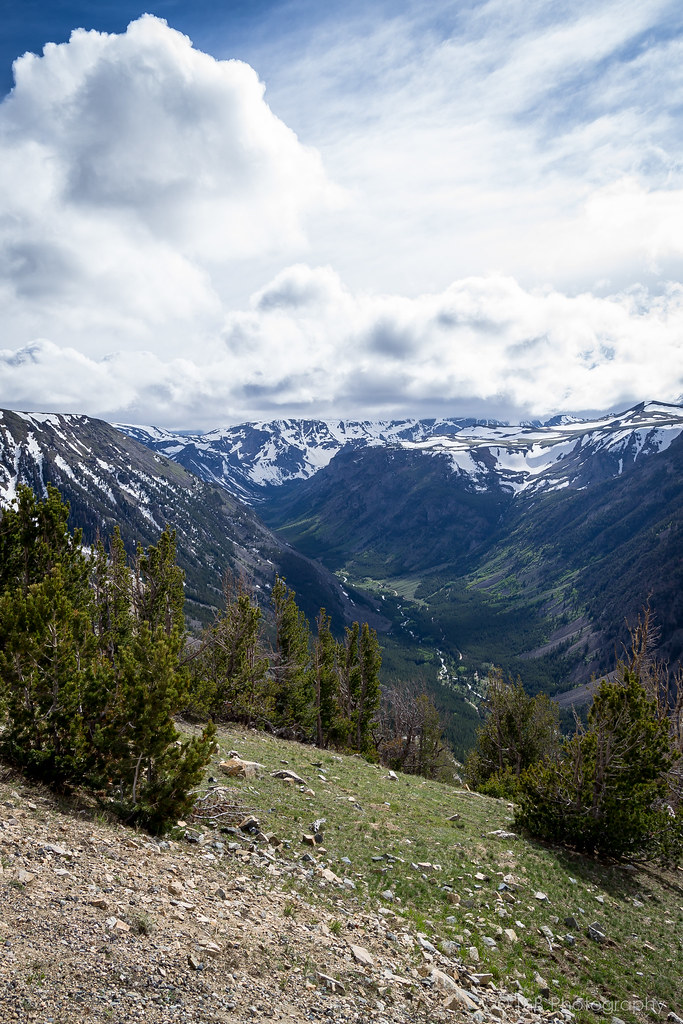
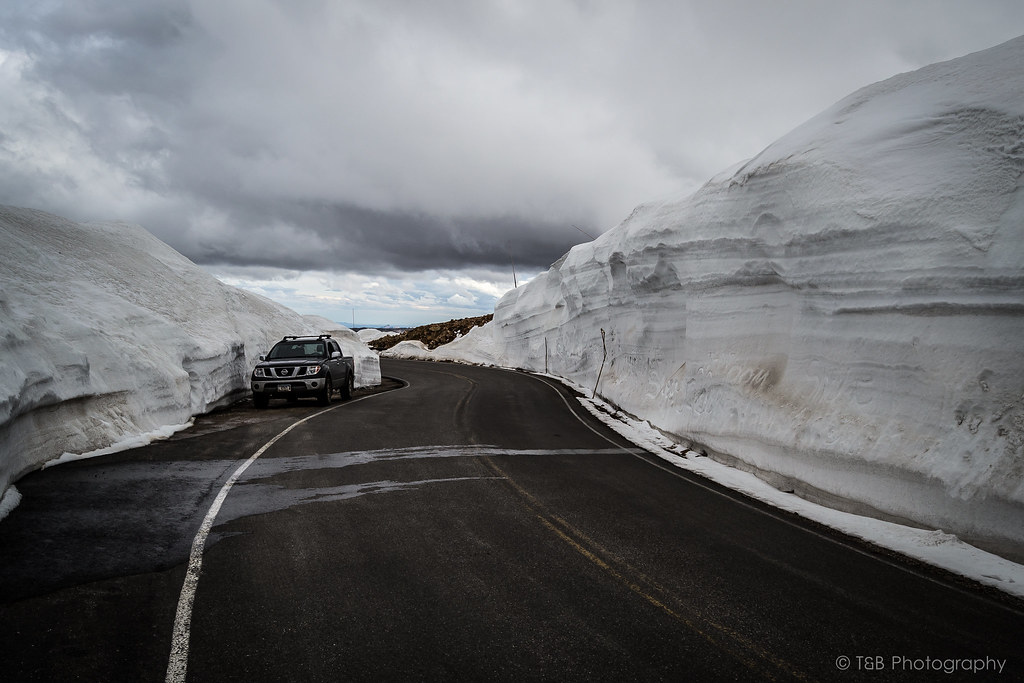
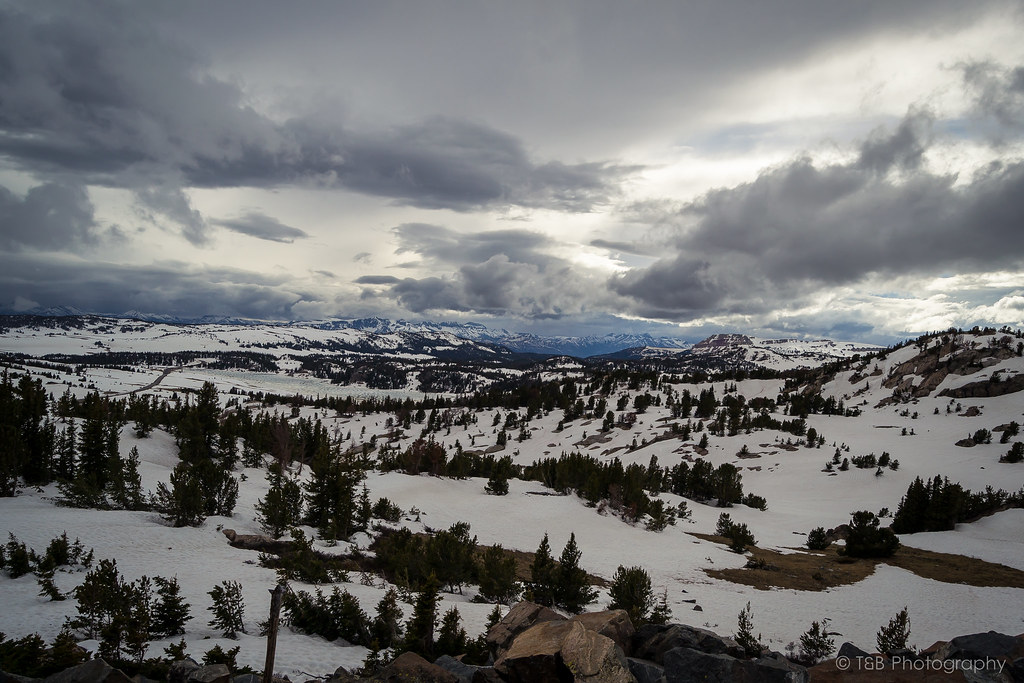
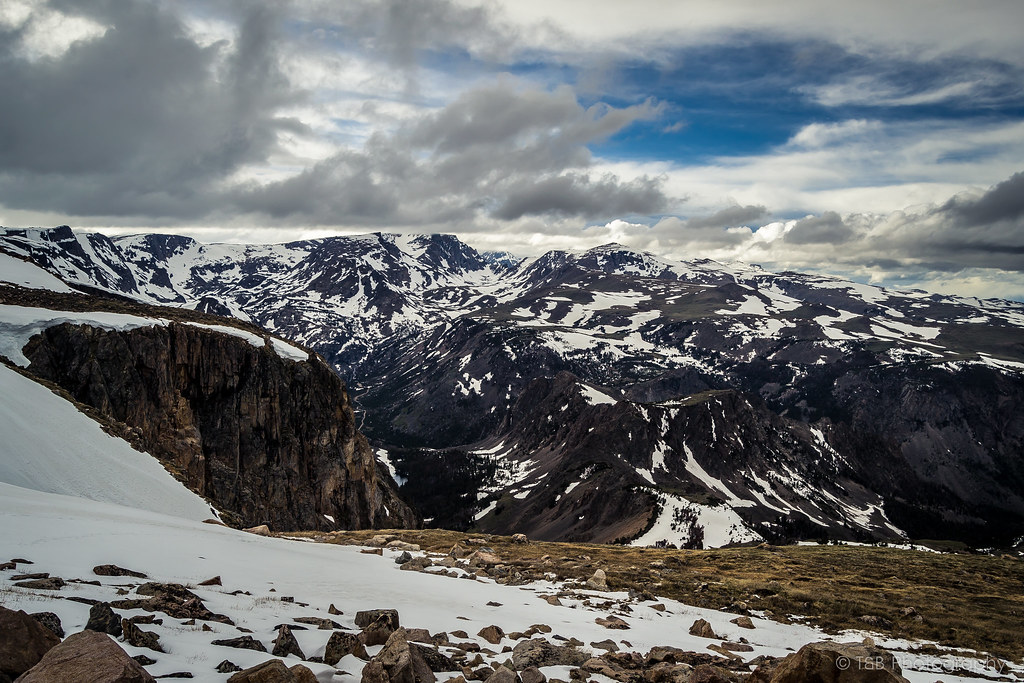
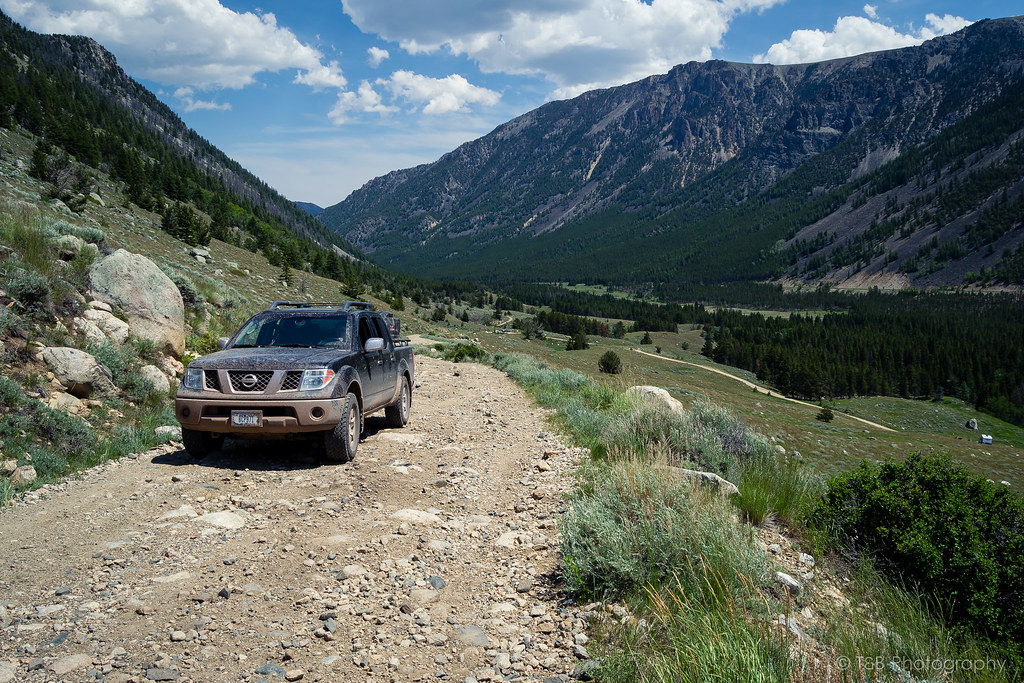
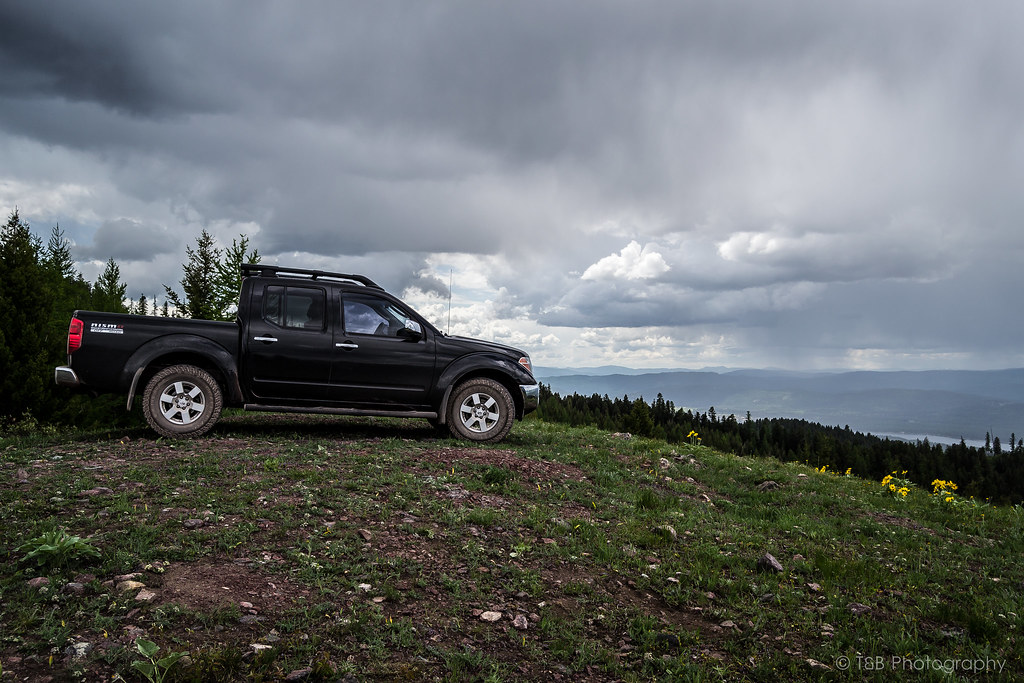
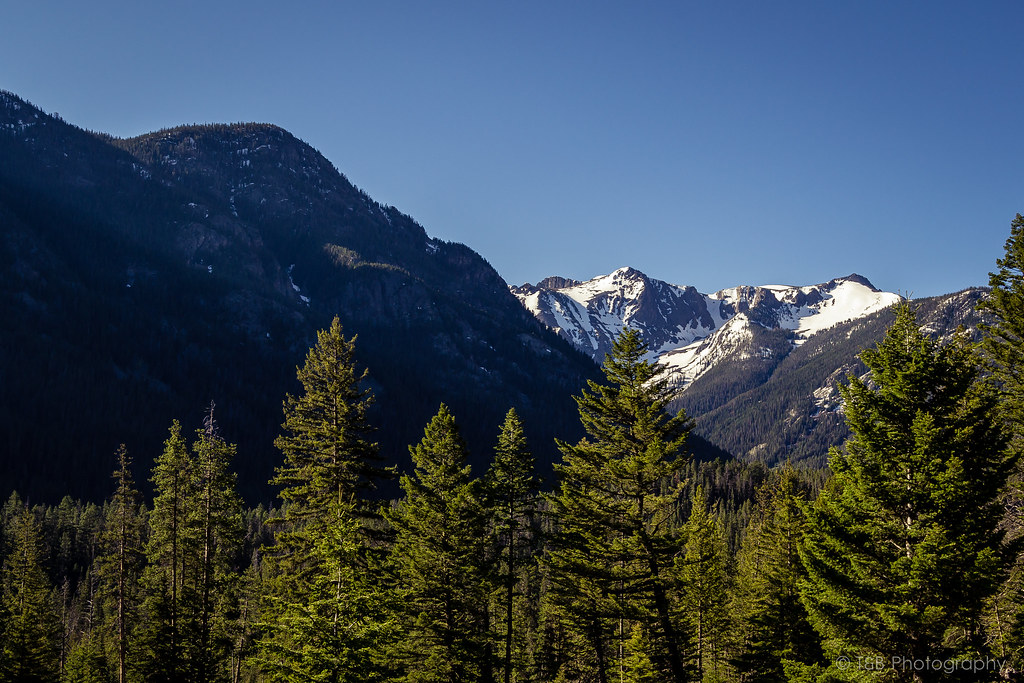
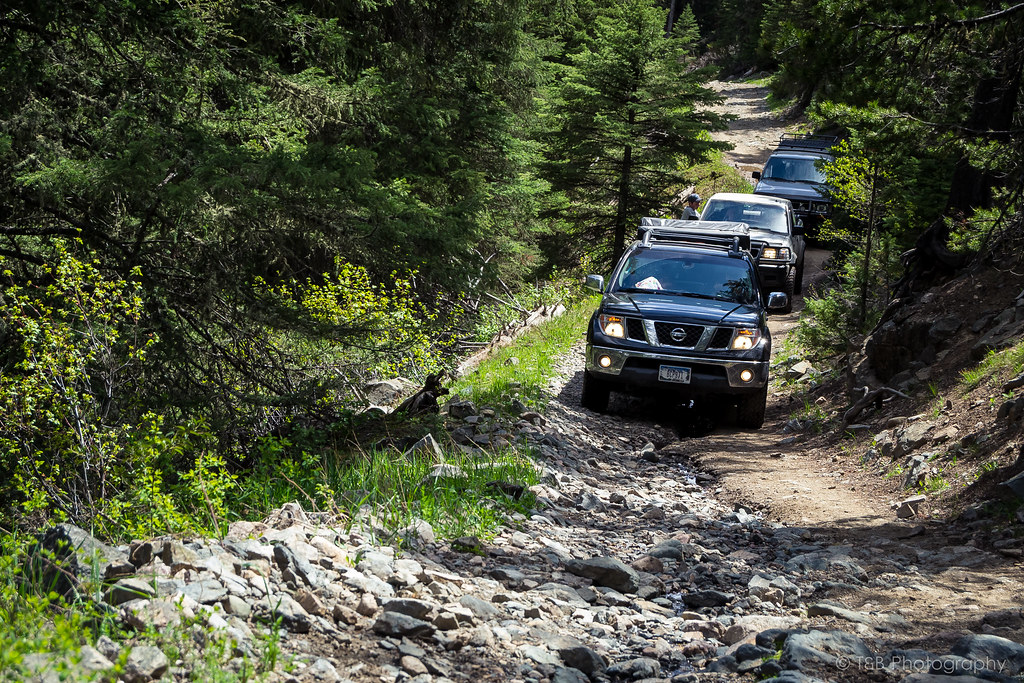
A little background first. I live in central Montana, in the state's largest city. I've spent my life exploring the woods and mountains of the region, and getting off the beaten path is in my blood. There are a good amount of trails and out of the way places here in Montana, and this truck is meant to be my ultimate expo/overland exploring truck.


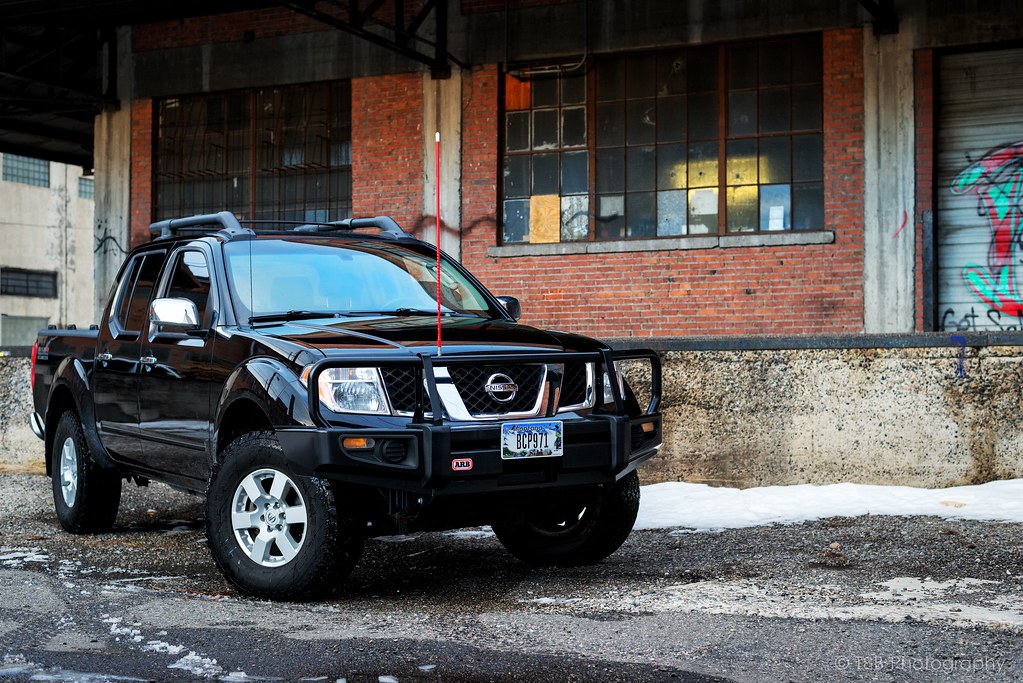
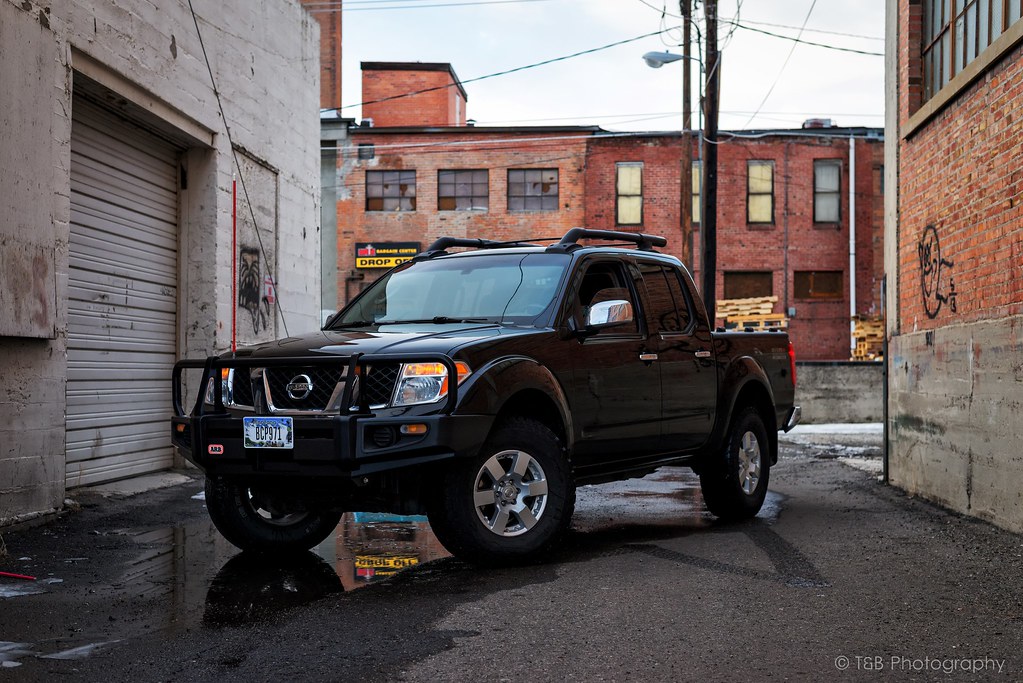
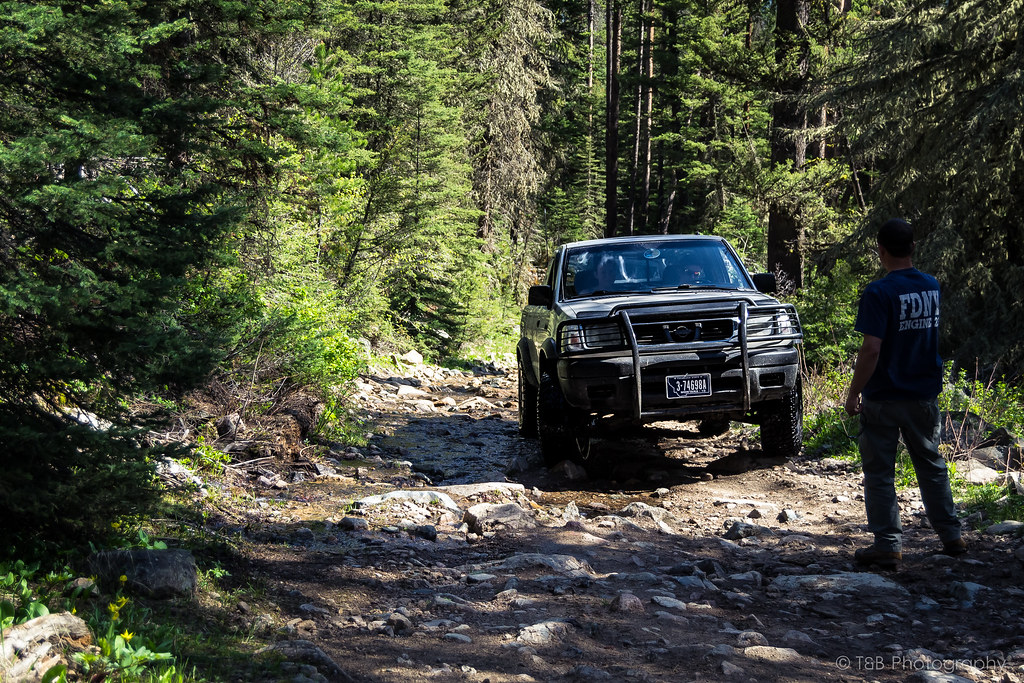
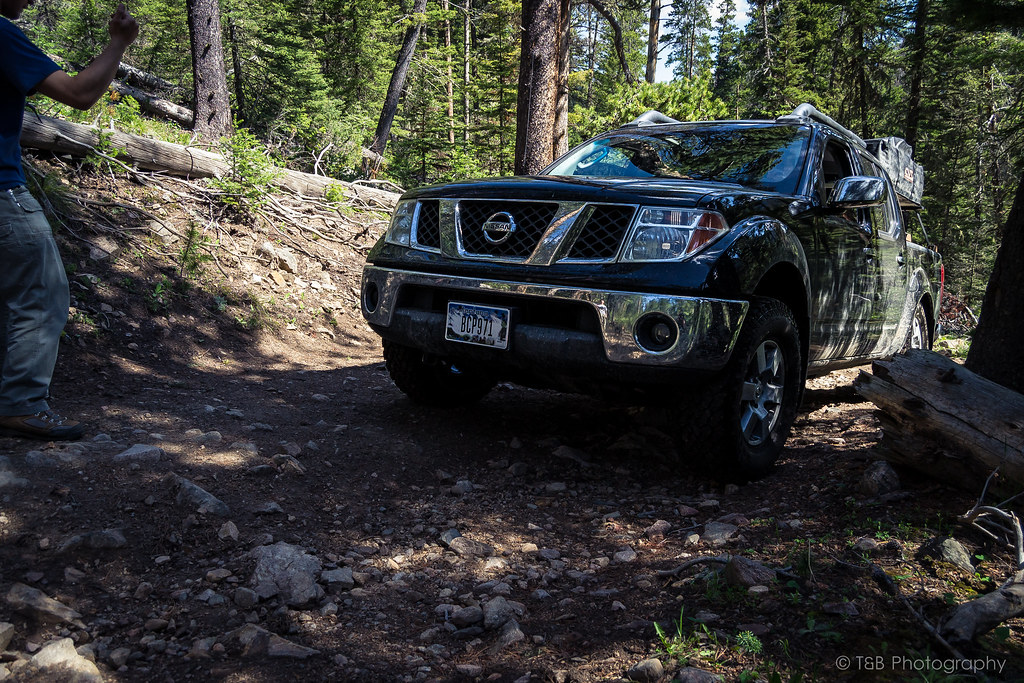
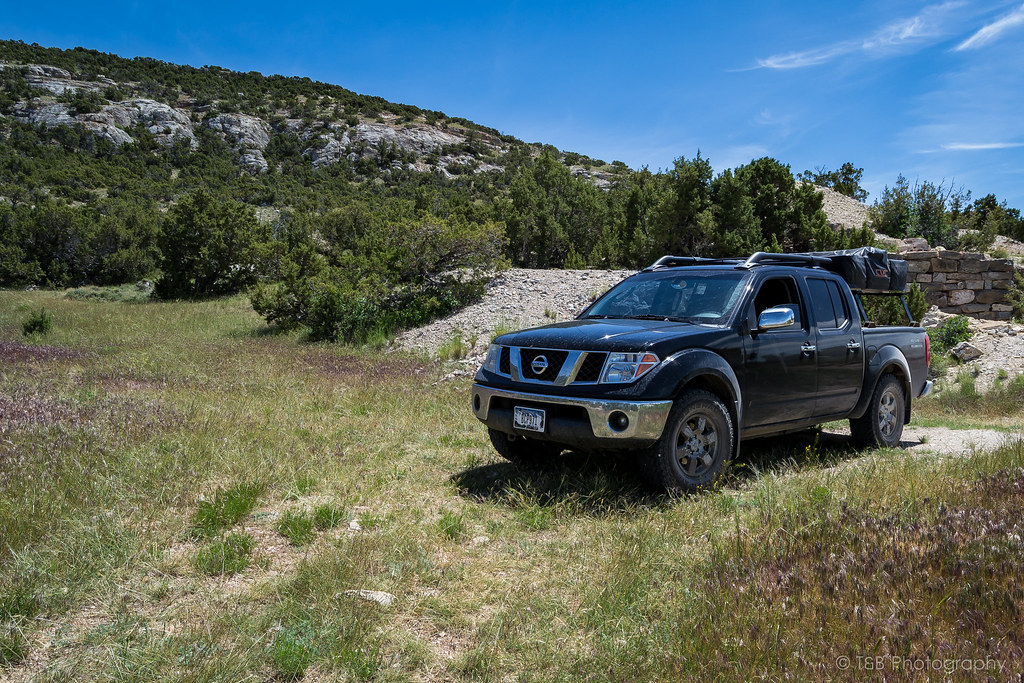
So, without further Adieu, this is Lola on the day I bought her:


Like I said, I live in central Montana. There aren't many Frontiers in this neck of the woods. I spent a couple months on AutoTrader looking for the perfect truck. When I found this one, I was pretty excited. The price was awesome, it had reasonable miles, and best of all it had the factory Nismo package that I had been looking for. Only problem was it was located in Yakima, WA. That's not exactly in my neighborhood, but I called the dealership and they said they would hold it for me until the next week. I got hold of my friend who had a weekend free, and two days later we were off on the 730 mile trip to central Washington.


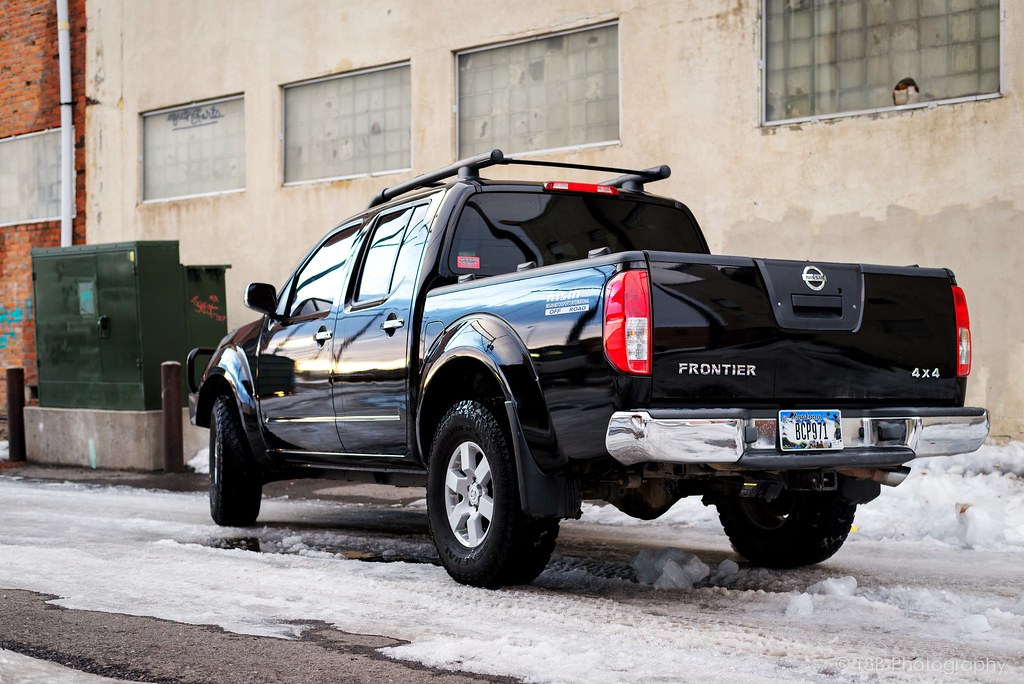
He had to work that Friday, so we ended up taking off at 6:30 Friday evening. We drove his little Honda Fit, which I eventually found out had no cruise control, to Spokane that night. We woke up early the next morning and made the three hour drive to Yakima. I took one look at it and kind of fell in love. I was a little disappointed to find out that it only had 265/70R16s, but at least the tires were good. I popped the radiator cap and to my relief, there was no milkshake. A quick test drive to the local bank and back, and we sat down to do the paperwork. 45 minutes later, I was the proud new owner of a 2nd gen Frontier.


We ate lunch and left Yakima, bound for my parent's place just outside Missoula, MT. We stayed there that night and left the next morning, making it back to town around 5:30 on Sunday. Quite the trip, but I was very happy with the truck I got.


This was last June. I already had a general idea of where I wanted my mods to go, so all that was left was to let my wallet recover for a little bit.

- - - Updated - - -

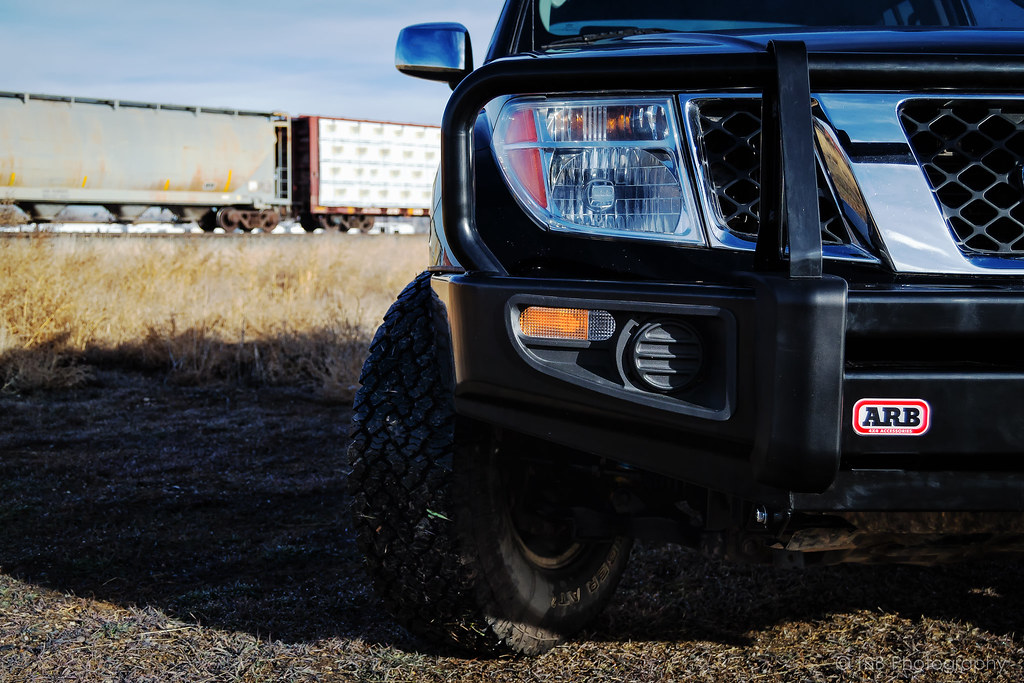
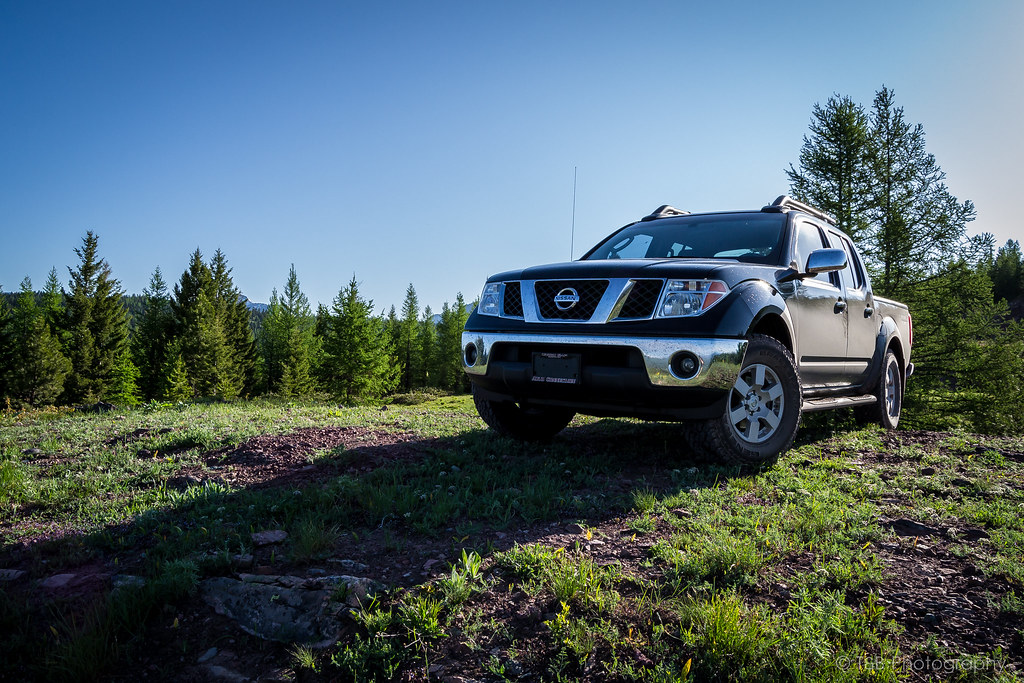
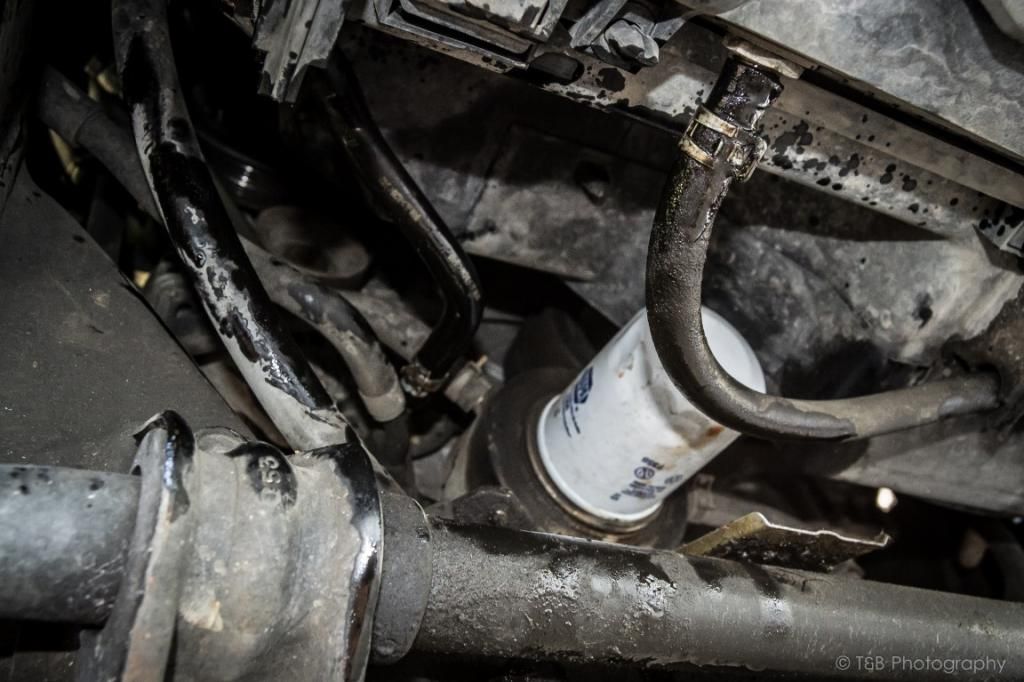
The day after I got the truck home, I took stock of it a bit. It had brand new General Grabber AT2s on it, albeit in a smaller size than I would have liked. But it had good tires and everything was in good shape. First thing I did was tackled the bypass.


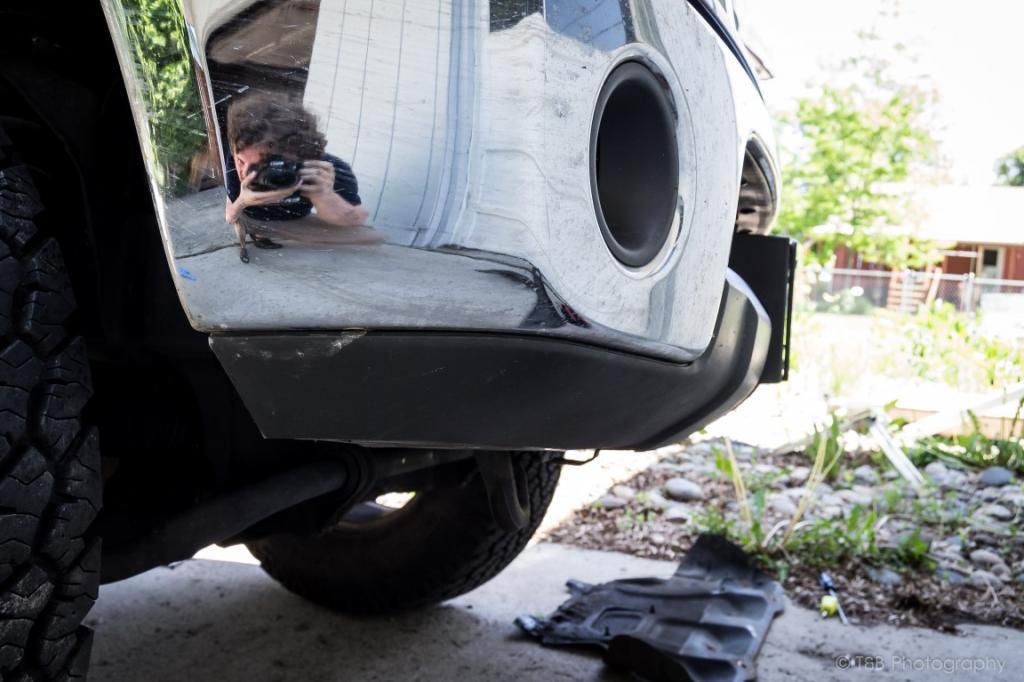
I topped off the trans fluid and started putting my own gear in the truck. I found a home for my recovery bag, Hi-Lift, flashlights, compressor, and FMRS radios in there. Then I removed the factory splitter from the front.


A friend got hold of me and we made plans to run a trail the next weekend. So, I mounted my CVT rooftop tent and bed rack from my old D22 on the back.


Just from looking at it, I kind of knew I was going to want to put it on a lower rack, but it was what I had at the time. When Friday night rolled around, we all headed out for our camping spot.


I was out with ClubFrontier member BlueSteel and another friend of ours, who has a Hardbody, and we had a blast.


Unfortunately, it was too early in the season, and there was a bunch of snow blocking the trail further up. After we stopped for lunch, we made our way back down.


So, after only a week of owning the truck, I had already given it a pretty good shakedown run on the trail. It wasn't anything difficult, but it was a good way to break in a stock truck.
 
The next weekend I went on a bit of an explore in the mountains to the south. The landscape there is interesting, as it kind of rapidly turns from desert to prairie to mountains.


There is a pretty easy trail out there that runs up to a cave formed by ice thousands of years ago. It is now perpetually full of ice, even in the summer months.


The trail carries on and goes up to a plateau with some nice views of the surrounding area.


The road home is pretty nice too :)


The next week, I had a day to kill, and I had read that the pass over the nearby mountains had been opened for the season. So I decided to go for a drive after I took my tent off.


At the lower part of the valley, there are a couple of trails that run to various hiking trails and campsites.


Then I headed up to the pass.


This highway winds its way up the valley and crests at an altitude of 10,947 feet. Of course, when you make it all the way up there at the beginning of the season, there's a little snow...


After I had driven around with the tent on the old rack for a week, I decided it really needed to be lowered. It was definitely having a negative effect on my mileage, and it just looked plain old ugly. So after a lot of research on the best way to go, I ordered a Yakima roof rack system as a replacement.


Installation is pretty simple, just drill a couple holes. I did need to run to Ace a couple times for some longer hardware, but eventually I got it all together.


The reason I went with the Yakima rack was that it is easy to remove. It only takes a couple seconds to unmount the bars and lift the tent off. Then all you're left with is this:


It's a pretty decent system to go with, but definitely something I'm going to update later on down the road.
 
While I was waiting on help with mounting my tent (my fiancee was having back problems), I decided to tackle the diff breather mod.
As you can see, my old breather was looking a bit rough.


I did the install using the Toyota connection.


Now I can drive through water without fear! :D
 
Anyway, I was finally able to get my tent put on the lower rack.


I really like it down lower. Funny thing about doing this is it actually brought the mileage up from stock numbers. I was averaging 19.5 on the highway without the tent. 17.8 with the tent on the tall rack. Now with the low rack, the truck started to get 21 on the highway. Not too bad!
 
On the 4th of July, we decided to take the long weekend and go for a camping trip. I had my sights set on a trail out in the Beartooth Mountains, and there are tons of places to camp down there.


We spent the whole day running that trail. Lucky for me, my fiancee loves this stuff. She can spend a month living out of a backpack if need be.


It's pretty rough. Not technical, just really rough. There's a lake way up near the top that we stopped at for lunch.


After lunch, we tried making it to the top of the road, but the last switchback was snowed in.


I made a couple of attempts at the switchback, but it was a bit steep. I only managed to bend the trailer plug bracket.


We made it to the top after a short hike. The view is totally worth it.


Great way to spend the fourth! The reliability of this truck was seriously impressing me, even after owning a D22 for the previous year. Even after all the rough terrain it had seen, it was working like a champ.
 
Good looking truck! Your pictures are absolutely incredible! I would love to visit Montana, moving to Washington in a year so I will have to come over that way.
 
The following week, I had decided that I just needed a little more clearance. I wasn't ready for a lift yet, since I didn't have the budget for lift and tires, so I decided on new tires. The Grabber AT2s that had come with the truck had really impressed me, so I called up a local tire shop and made a tire appointment. I got myself a set of 265/75R16 Grabber AT2s.


That weekend, BlueSteel, our friend, and I took another trip, this time to the picturesque mountain area of Cooke City. This area used to be a buzzing mining center around the turn of the century.


After the mining went best, the workers just sort of packed up and left. They left all of their equipment behind, where it now sits to rust away.


We attempted to do the absolutely awesome Goose Lake Jeep Trail, but about a mile in we were turned around by snow.


The great thing about this area is the landscape. It's hard to find somewhere without a great view. We ended up finding the perfect site to camp. This little gem is hidden within a large network of rough roads.


After packing up on our second morning, we stopped at Beartooth Lake for some fishing before we headed home.


Good looking truck! Your pictures are absolutely incredible! I would love to visit Montana, moving to Washington in a year so I will have to come over that way.

Thank you! I love the truck, and my photography skills are steadily improving I think. Montana is a beautiful state. The western half is nothing but mountains and forests. Great place to get lost.

Beautiful. Thanks for sharing!

Thank you and you're very welcome!

Great looking Fronty!

I miss Montana. I went to school there for my first year of college.

Thanks!

Yeah, Montana can be an awfully cool place to explore. I don't care much for the eastern side of the state, but western Montana is really beautiful. We have some of the best wilderness in the lower 48 I think.
 
After that last trip, our schedule got really hectic. We had very little time to go camping or exploring, so I just kind of let my wallet refill. One day I was snooping around on Craigslist when I found a great deal on a brand new ARB bumper for a Frontier. At $700, this was one hell of a good deal. I went down to look at it, and the guy told me he runs a Nissan shop. He said they would install it for me the next day for $200. That would make the total cost a good $300-400 less than it would cost to get a new one online. So I had him do it. He did a great job and I am a very happy customer.


This was the bumper I was planning on anyway, so having it on there ahead of schedule was a big plus! Since I had my bumper, I finally had the spot to mount a CB antenna the way I had planned.


And now that I had an antenna, I finally got around to installing my Cobra 19 CB radio.


So the next thing up on the list was suspension. I had originally planned to go with the OME HD on the front with MD leaf packs in the rear. After doing some research and finding the lift with the mods I wanted would only be 1.5", I was looking at other options. I wanted something really low maintenance that I could set to 2" if I wanted to. Theoretically I could go with the OME and put a spacer in, but I found another option in the form of the Nisstec adjustable coilover.


The Nisstec coilover is essentially a Bilstein 5100 with a threaded collar to accept an adjustable spring perch like any other adjustable coilover. It uses Eibach springs like the Radflo coilovers, but I like the fact that the shocks are user-replaceable and use actual bushings instead of heims. Remember, this is a long distance travel vehicle as well as a daily driver, so comfort and easily replaceable parts are the most important things for me to consider when thinking about aftermarket upgrades. The Nisstec fits the bill perfectly. The guys at Nisstec were awesome to deal with and gave me tons of information.


Since it would have cost me much more, I didn't end up buying the rear setup yet. I just bought the Nisstec adjustable shackles as a temporary leveling device.


I took before pics and measurements.


Center of hub to wheel arch measurements, pre-lift
FRONT (left and right): 19 1/2"
REAR (left and right): 20 5/8"


This was literally the easiest suspension install I have ever done. I was actually pretty surprised, but the whole lift only took me about three hours.


I was very impressed with the quality of the Nisstec setup. Great fit and finish.


Didn't have to disconnect the UCA from the spindle. Just removed the old strut assembly and installed the new coilover.


The rear shocks refused to be disconnected, and I didn't want to beat on them too hard with a hammer, since I didn't have replacements. So, the rear took a bit more effort. I ended up needing to use the factory scissor jack to lower the springs enough to install the new shackles.


But I got it done eventually.


After a couple test drives to get the springs to settle, I was done.


Center of hub to wheel arch measurements, post-lift
FRONT (left and right): 21 7/16" - 1 15/16" of lift (backed off 1/16" from 2" to prevent shock topping out. Yes, it really does make a difference.)
REAR (left and right): 22 7/8" - 2 1/4" of lift
 
Very nice! Love the Frontier!! :) Nice looking mods, and well thought out at that. Keep it up!
 
Then this showed up at my door at the end of January.


You can see the dark rectangle on it? Yeah, well when they sent it, they didn't wrap it up or anything. Just stuck the shipping labels to the plate and sent it off. Oh well, a little work with a razorblade takes most of the glue off. I pulled the labels off and sanded it down a little to rough it up. Then I hit the slight surface rust around the welds with a wire brush. Then I sprayed the plate down with oven cleaner (since that's what I had sitting around) and wiped it off.


Then I got to painting. Since I have a black-with-red-accents kind of theme going on here, I decided on...


Just shot a couple coats, then flipped it over.


Now I decided to get this in bare steel and paint it myself because, let's face it, it's kind of a sacrificial part. It seemed absurd to pay an extra $35 to have it powdercoated so I could scratch it up. $5 in rattle can paint and it won't rust, and I can easily touch it up later.

Still need to install it.
 
Equipt Expedition Outfitters
Back
Top Bottom